PHP version 5.3 (or greater) | MySQL version 5 (or greater)
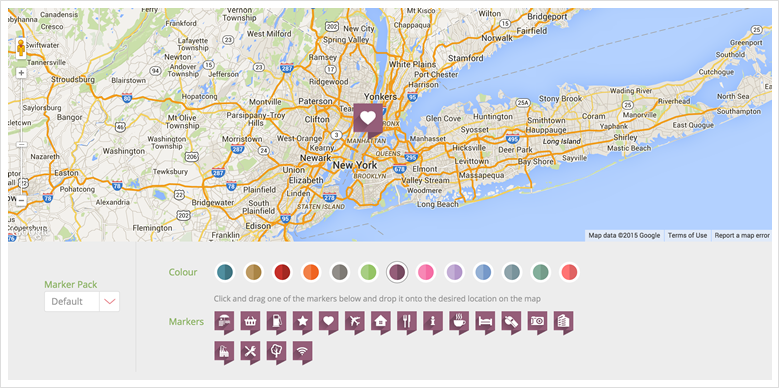
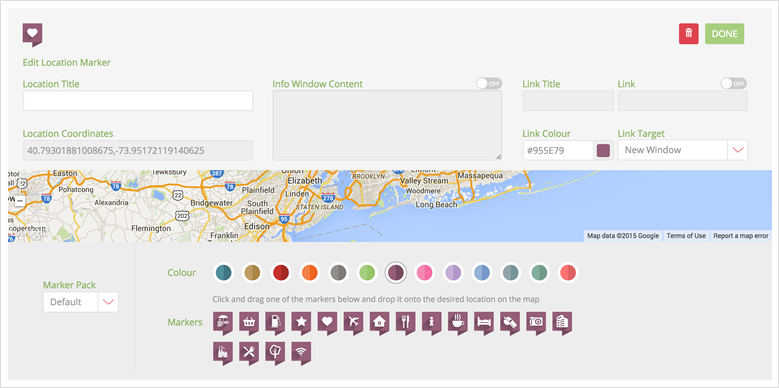
In the “Edit Panel” you can give your marker a Location Title and also activate an info window. (This is the info tag that would appear when you click on a marker. This will only appear on the live map on your website)
Choose the type of map and choose between a color or greyscale map. Auto Fit – Auto scale the map to the maximum size where all markers are visible Mouse wheel zoom – Zoom in and out with the mouse wheel
Switch on or off the controls you would like to display on the map.
Change things like animation type, speed, delay etc.
Our plugin comes standard with a default marker pack

We give you the flexibility to add your own markers.
First browse to the “Markers” section in the left hand navigation and then go to “Custom Markers”

Choose a marker that you would like to add (Transparent PNG) Once you have uploaded your marker, you will have to position your marker on the centre crosshairs like in the image beneath.
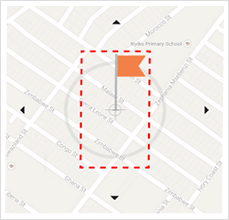
Once this is done, your marker will be visible in the custom marker section and you can no use it on your map.
Go back to your map and select “Custom” from the marker pack dropdown.

Hero Maps allows you to integrate by adding the map shortcode to your page or with the WordPress do_shortcode function.
Stay informed about all new releases and product updates